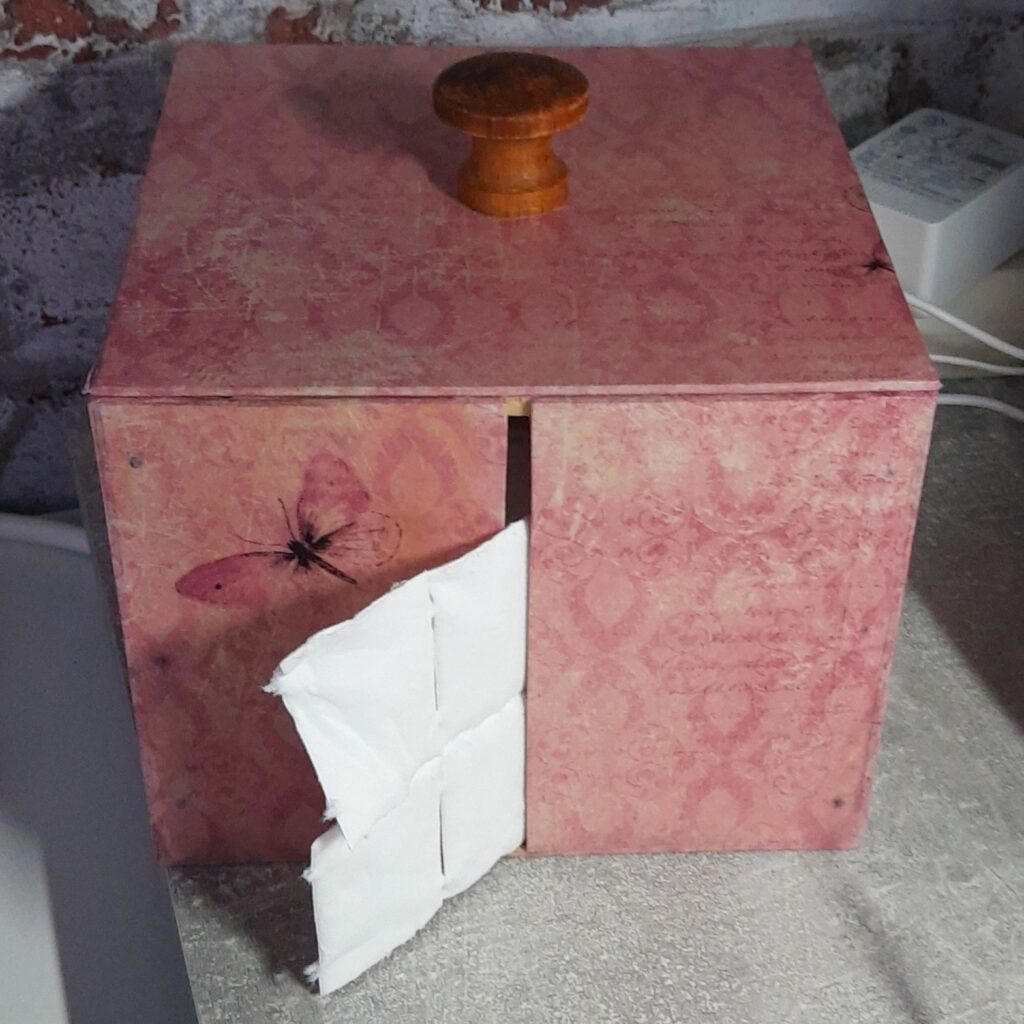
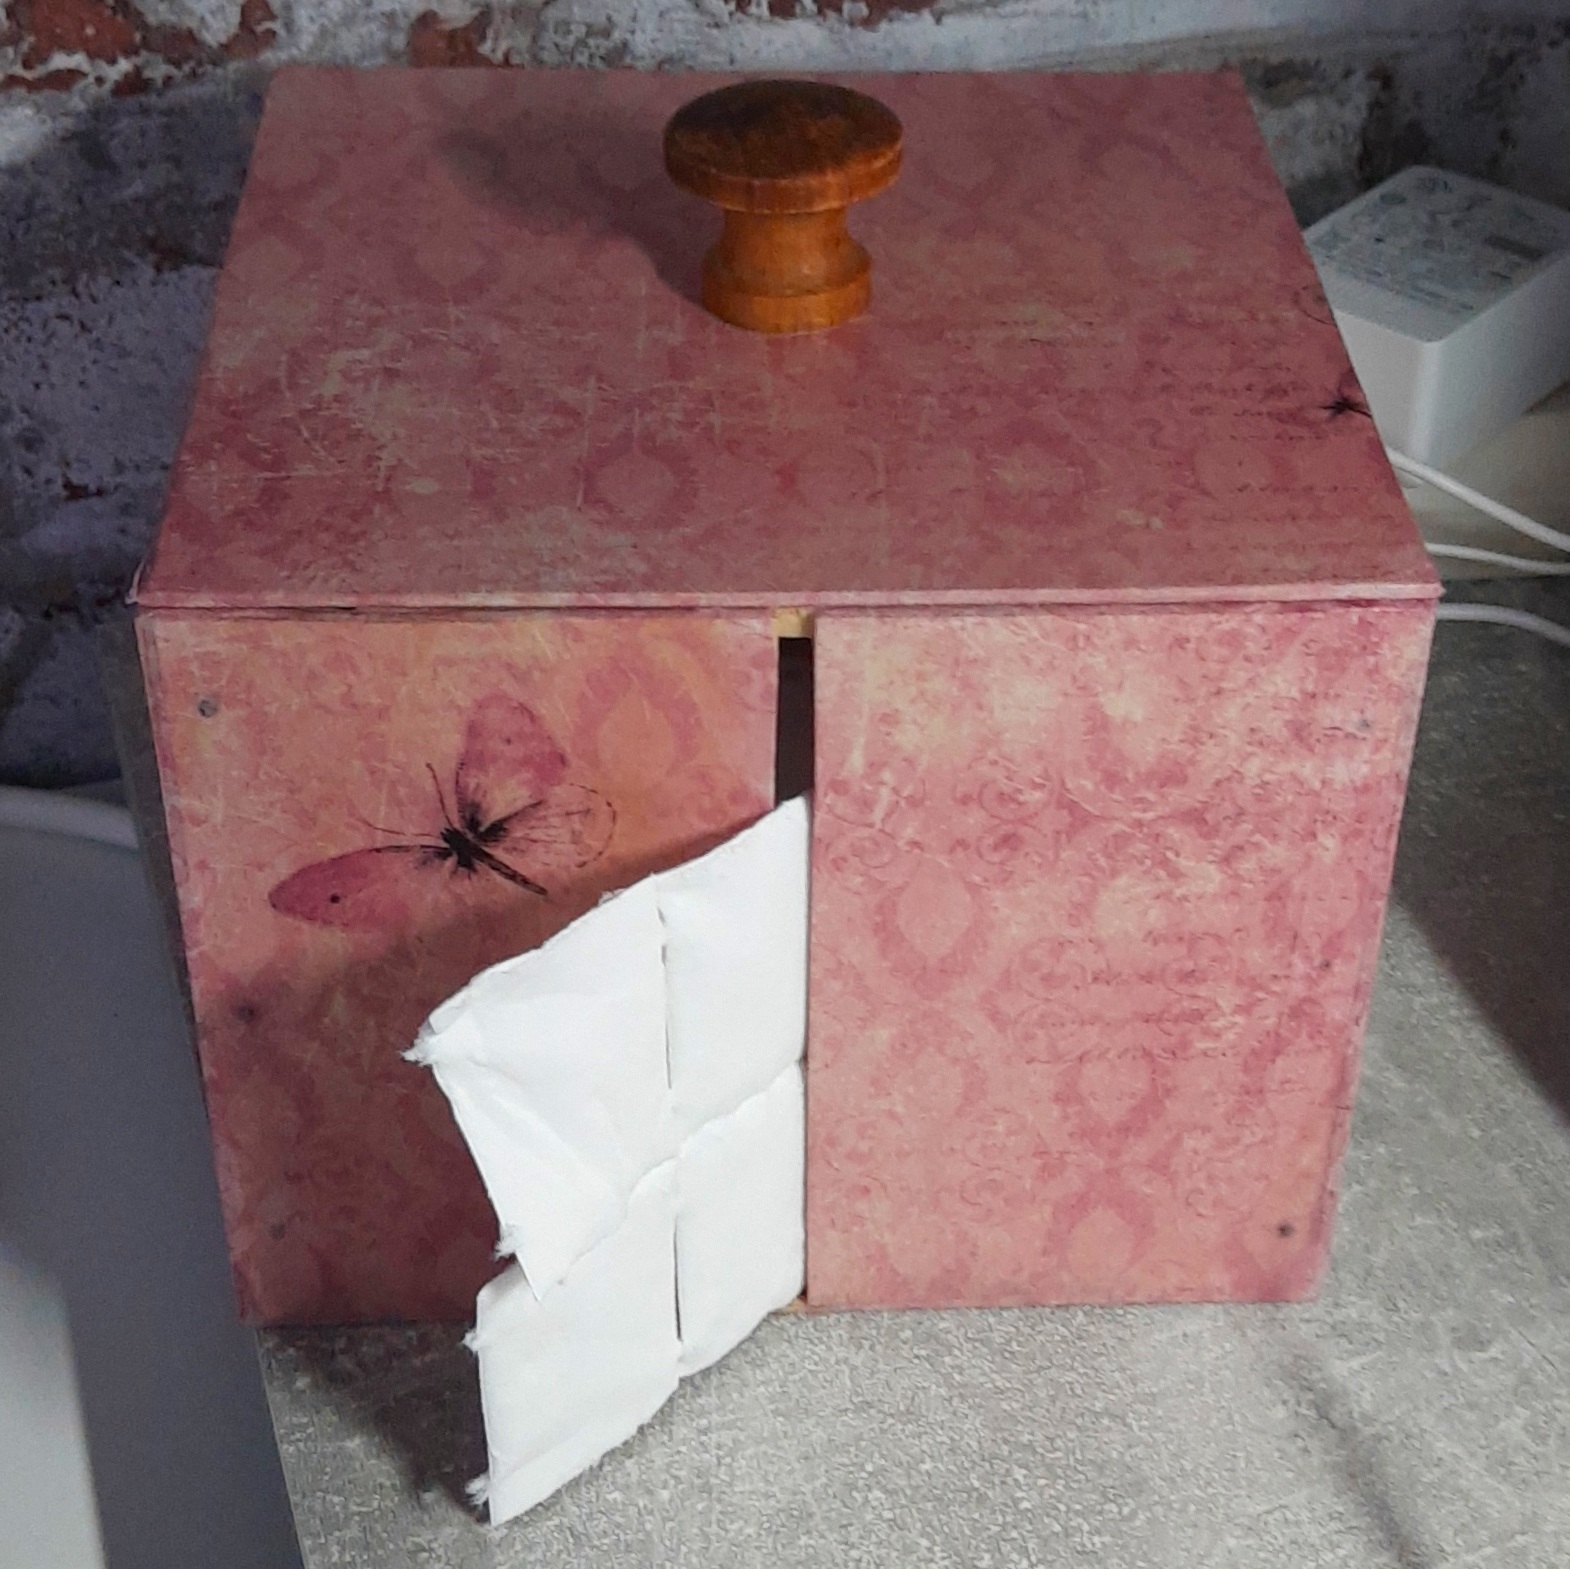
When designing art fingernails, cellulose pads are used to spread the brushes, dab the sealant, clean the nail and a thousand other applications, as you know them from cosmetics. If you want to buy more of them and cheaper, they come on a roll with a diameter of 10 cm and a width 11 cm. All you need are thin sheets of plywood and 15mm angle strips, like some wood glue and a few 10mm nails. An old cabinet knob can be found somewhere. It is worthwhile to attach a golf-T to the center of the box 😉
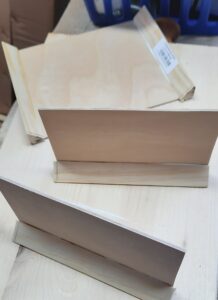
 I decided without further ado to build a cube with an edge length of 15cm, so that the roller has some space and is easy to run. First, the 5 squares and the two rectangles for the outlet must be cut and deburred with a file. Of course, the base plate and the lid are not perfectly square. They are wider by twice the length of the material thickness.
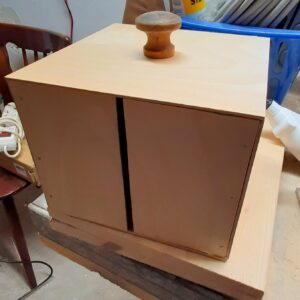
I then cut four angle strips to length (with a bit of allowance) and glued them to the two front panels, as well as the back panel, and let them dry under pressure (screw clamps). After the wood glue dried, I additionally fixed the angles with nails and shortened them to the right length with the wood file. I then mounted the side panels to the prepared workpieces in the same way, creating a wooden frame. The bottom plate and the lid each got a through hole with the diameter of 5mm in the center. I glued and screwed the Golf-T to the base plate. Now I glued the edges of the bottom of the prepared wooden frame, put the bottom plate and fixed it immediately with two nails, the rectangular front parts I secured additionally with clamps. Finally, the box is almost finished, only the lid needs two shorter wood angle strips at the right distance, so that the lid clamps a little. For the sake of simplicity, I drew the distance with a pencil and glued the strips with glue, and let the glue dry under pressure.
To match the aesthetic, all that was needed was some craft glue and napkins. For this, my wife glued the surface, put the printed side of the napkin. In the end, the whole sealed with clear varnish. Now the old doorknob can also be screwed. All done!