Inkscape is one of the best open source vector drawing programs available for Linux and Widows alike. Of course, most use Windows.
The Silhoutte software is ok, but far from the functionality of Inkscape.
After a long search I found a solution shared on Github to drive Silhouette vinyl cutters (e.g. Cameo, Portrait series) from within inkscape that I want to share with you.
Links
- Inkscape https://inkscape.org
- GitHub Extension https://github.com/fablabnbg/inkscape-silhouette
(Check here first to see updates and changes and adjust the following instructions accordingly.) - Zadig USB Driver Tool http://zadig.akeo.ie/
- Python getPIP Script https://bootstrap.pypa.io/get-pip.py
The following points are taken from the detailed description on the plug-in developer’s page:
Driver
These steps must be done with Silhouette device plugged in to USB port.
- Download newest Zadig from http://zadig.akeo.ie/
- Go to menu options List all devices
- Look for USB Printing Support in the dropdown list
- Ensure USB ID is: 0B4D (Graftek America)
- Select driver libusb-win32 (v1.2.6.0) which will install a libusb0 -Port for Windows
- Click replace driver
To later undo:
- Run Zadig again
- Go to menu options List all devices
- Look for USB Printing Support in the dropdown list
- Ensure USB ID is: 0B4D (Graftek America)
- Select driver WinUsb which will undo the prior change.
- Click replace driver
Python adapter
- Inkscape usually comes with a Version of Python; ensure that feature under Program Files/Python is ticked upon installation or change/add features accordingly
- Install pip (a package manager for python):
- Download get-pip.py from https://bootstrap.pypa.io/get-pip.py and copy to the bin directory, e.g. C:\Program Files\Inkscape\bin
- Open command line and navigate to the same directory, then enter
.\python.exe '.\get-pip.py'
- Install pyusb:
- Still in command line enter
.\python.exe -m pip install pyusb
- Still in command line enter
Silhouette inkscape extension itself
- Download https://github.com/fablabnbg/inkscape-silhouette/archive/main.zip
- Open the downloaded file and select the following five items (files and directories):
silhouette , sendto_silhouette.inx , sendto_silhouette.py , silhouette_multi.inx , silhouette_multi.py - Extract them to your share\inkscape\extensions directory, e.g. C:\Program Files\Inkscape\share\inkscape\extensions
- Restart inkscape
Usage
- Open your document with inkscape.
- Ensure the unit of document width and height is mm or inch, but not px. (File – Document settings – Page – Custom – Unit mm) Otherwise you may observe differences in dimensions at inkscape 0.91/0.92, because default dpi has changed from 90 to 96.
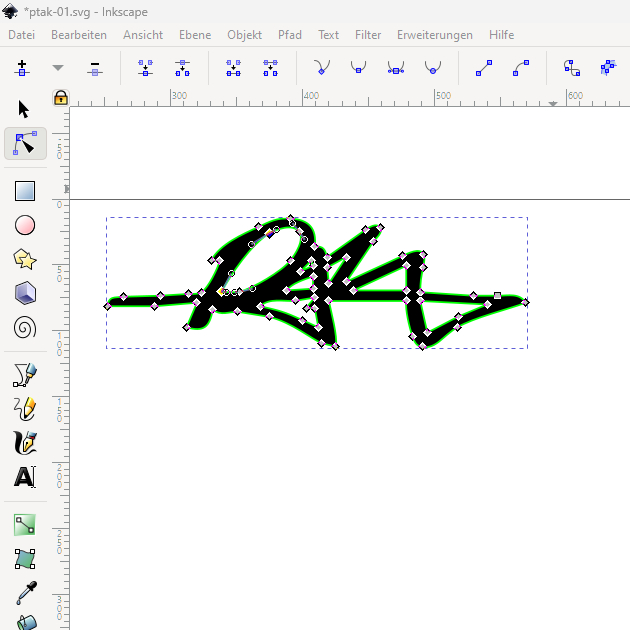
- Convert all objects and texts to paths (Path – Convert object to path)
- Select the parts you want to plot.
- Open the extension. If you want to use the same cut settings for all of the paths in your file, use „Extensions -> Export -> Send to Silhouette.“ If you want use different cut settings based on the colors of different items in your file, use „Extensions -> Export -> Silhouette Multi Action.“
- In the case of Multi Action, there is a first screen that is primarily for debugging. Typically you can just leave all of the boxes on this unchecked and click „Apply.“
- Set your desired plot parameters. There are numerous aspects you can control with the dialog, here are just the core highlights:
-
- X-Offset, Y-Offset An additional offset of your drawing from the top left corner. Default is 0/0
- Tool Cut/Pen Cut mode drews small circles for orientation of the blade, Pen mode draws exactly as given.
- Media Select a predfined media or set to custom settings.
- Speed Custom speed of the movements
- Pressure Custom Pressure on the blade. One unit is said to be 7g force.
In Multi Action, you can select the color you want settings to apply to and then set all the same parameters, but with potentially different settings for each color. You can also change the order in which the colors are cut, and uncheck the box in the „Perform Action?“ column to ignore a color altogether.
- To start the cut, in „Send to Silhouette, click the „Apply“ button; in „Silhouette Multi“ click the „Execute“ button